Have you ever been wrapping presents and realised you don’t have the right sized gift bag? Or perhaps you have leftover wrapping paper that feels too pretty to toss? Learning how to make a bag out of wrapping paper is your perfect fix: a cost-saving, creative and eco-friendly solution that gives you a custom-sized bag whenever you need it.
In this guide you’ll learn everything — from choosing the right sheet of wrapping paper, to measuring, folding, and finishing off your bespoke DIY gift bag from wrapping paper. And along the way there are smart tips for odd-shaped gifts, leftover paper, durability and style. Let’s get crafting!
1. Materials & Tools You’ll Need
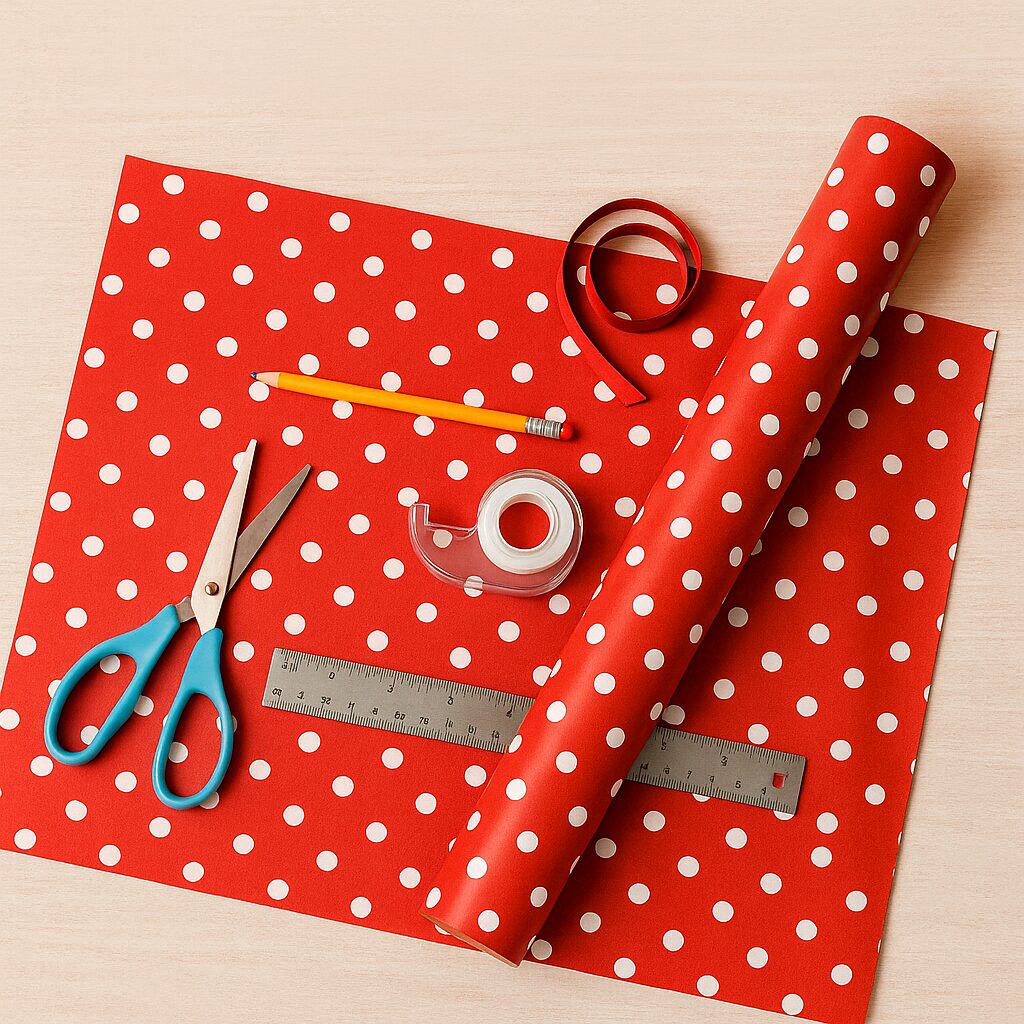
Before diving into the folding and crafting, gather your materials. Doing this ahead of time ensures a smoother process.
What you’ll need:
- A sheet of wrapping paper. Ideally pick one that’s a bit thicker (not ultra flimsy) so your bag has structure.
- Scissors or a paper cutter for straight, clean edges.
- Tape (double-sided is great) or glue to hold seams invisibly.
- Ruler and pencil (for measuring and making light marks).
- Hole punch (optional, if you want to add string or ribbon handles).
- Ribbon, twine or paper handles (optional) for the finishing touch.
- Optional reinforcements: small piece of cardboard (for the base of heavier gifts), extra layer of paper if you want durability.
Why pick thicker paper?
Choosing the right wrapping paper is key if you want your bag to hold its shape and look polished. Thicker paper gives you a more durable bag out of wrapping paper, rather than one that collapses or tears easily.
Pro tip: Have leftover rolls or partial sheets? Perfect—using them means you’re up-cycling wrapping paper into a gift bag, another great way to reuse leftover wrapping paper.

2. How to Measure & Prepare Your Paper
Measurement may seem tedious, but spending a minute here will save you from making a bag that’s too small or too huge.
Here’s how to measure:
- Measure your gift’s height, width, and depth.
- Decide how much “give” you want: add about 2-3 inches (or ~5 cm) to the width so the gift can slide in easily plus space for tissue paper if you use it.
- For height: add about 4-6 inches (or ~10-15 cm) so you have room to fold down the top neatly.
- The width of the paper should be enough to wrap around the gift (circumference) plus a seam allowance—typically “width = gift width + gift depth + 2-3 inches”.
- If you’re dealing with an odd-shaped gift, this is key: you might need extra width or a slightly taller bag to accommodate. (This is a smart area many skip, but by doing it you’re making a truly custom sized gift bag from wrapping paper.)
According to one guide: “Start by measuring your gift’s height, width and depth. Add 4–6 inches to the height … add 2–3 inches to the width to ensure the bag is wide enough.”
Prep tip: Lay your paper flat, mark the rectangle based on your calculations, and then cut. Having a clean, straight cut gives a much neater finished bag.
3. Step-by-Step Instructions
Now the fun part: building the bag! Follow these steps to complete your DIY gift bag from wrapping paper.
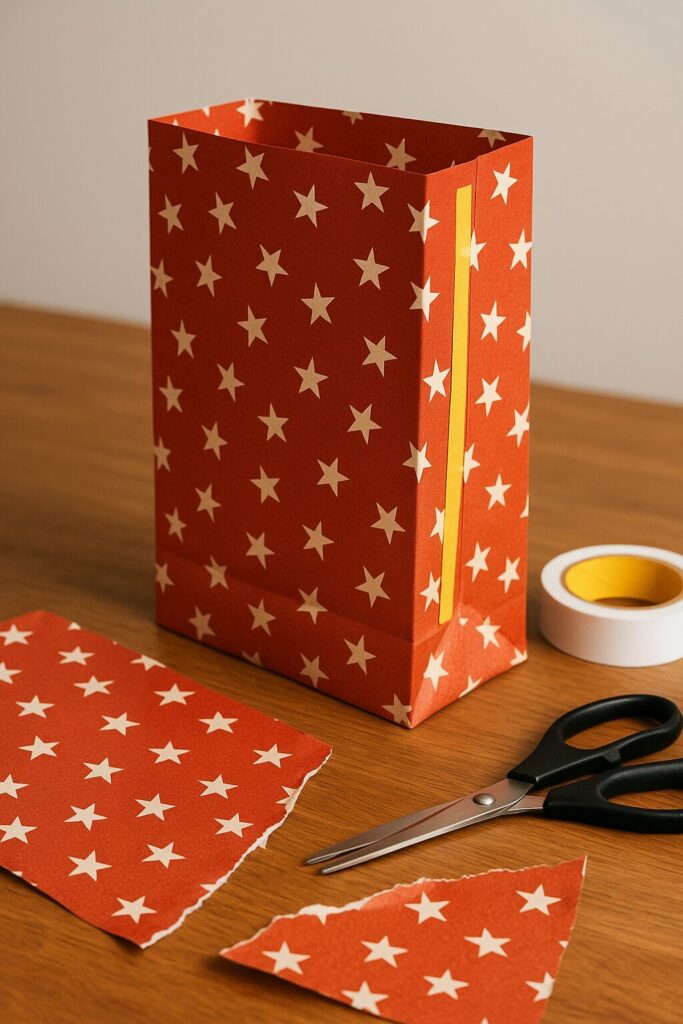
Step 1: Fold & secure the main body (tube) of the bag
- With your cut rectangle of wrapping paper laid flat (pattern side down if there’s a pattern), fold one of the longer edges over so it overlaps the other long edge by about 1 inch.
- Tape or glue along the seam to hold it in place. You’ve now created the tubular shape of your bag.
- This is exactly how you begin to make a bag out of wrapping paper step by step.
Step 2: Create the bottom base
- With the tube shape now standing, fold up the bottom edge about 2-3 inches (or ~5-8 cm), crease well, then open that fold.
- Push in the two side flaps to form triangles (this gives you “boxed corners” like a store-bag).
- Fold the triangles in, tape or glue them down securely. Then fold the bottom flap up again and tape to finish.
- A quality base makes a huge difference—it lets the bag stand upright and hold items properly.
Step 3: Finish the top edge & add handles
- Decide whether you want to fold down the top edge (for a clean rim) or leave it as is. Folding down gives extra heft and a neater look.
- If you want handles: punch two holes near the top on each side. Thread ribbon or twine through, knot inside. You’re now done with a homemade gift bag with wrapping paper handles.
Step 4: Insert gift & add finishing touches
- Place your gift inside. If you’re using tissue paper, add it now.
- Add a gift tag, sticker, or decoration to personalize.
- And voilà — your DIY gift bag from wrapping paper is ready!
Pro tip: If the gift is heavy or the paper feels thin, add a small piece of cardboard at the base inside or do a double layer of wrapping paper. That makes it a durable bag out of wrapping paper.
4. Customization & Creative Variations
Now that you’ve got the basics down, let’s explore ways to make the bag your own.
Size variations:
- For a smaller gift, simply cut a smaller rectangle and shorten the height and width accordingly (use the same formula). This gives you a nice small bag out of wrapping paper.
- For larger gifts, scale up accordingly – just make sure your paper sheet is wide enough.
Theme & occasion variations:
- Use holiday-patterned wrapping paper (e.g., Christmas wrapping paper) for seasonal gifts and give it that custom touch.
- For birthdays, weddings, baby showers, etc., pick paper that matches the theme and add matching ribbons/stickers.
- Want to up-cycle? Use leftover paper scraps from old rolls to up-cycle wrapping paper into a gift bag.
Decoration & personalization:
- Add embellishments like bows, ribbons, washi tape, stickers, handwritten tags.
- For kids: let them draw or stamp the paper before making the bag — great family activity.
- For parties or small-business favors: use matching paper for all bags to give a cohesive look (you’ll be creating a custom sized gift bag from wrapping paper that aligns with the event branding).
Kids & families angle:
-
Make this a fun craft time: let kids pick the wrapping paper, help measure/cut, add decorations. Enjoyable and creative for all ages.
5. Troubleshooting, Tips & Mistakes to Avoid
Every DIY has hiccups — but knowing some common mistakes and how to fix them puts you ahead.
Common mistakes & how to avoid them:
- Paper is too thin / flimsy: If you use very thin wrapping paper, the bag may collapse or tear. Choose medium/thicker weight and reinforce if needed (with cardboard or double layer).
- Poor measurement: If the paper is too small, the gift won’t fit or the bag will look awkward. Always measure gift carefully, add allowances.
- Weak seams: The body seam or base folds are often the weak points. Use double-sided tape for clean, strong seams.
- Bottom won’t stand up: Skipping the boxed bottom technique means the bag may collapse. Take the time to push in the corners and tape securely.
- Handles too low / poorly attached: If using handles, punch holes higher up and reinforce the inside with extra tape so handles don’t rip through the paper.
Pro tips to succeed:
- Use sharp scissors or a cutter for clean edges — ragged cuts reduce strength.
- Keep folds crisp and well-creased so the bag holds shape.
- If using a bold print paper, align pattern and seams so the finished bag looks polished.
- For heavier gifts: treat it like you’re making a small shopping bag — add reinforcement, choose a sturdier paper, maybe double layer — turning it into a durable bag out of wrapping paper.